How To Build A Mountain Bike – 8 Steps To Assemble Mountain Bike
Can I build my mountain bike by myself? Yes, you can build your own mountain bike by yourself. It’s easy to work on, fun to customize the bike, and even more pleasure to ride around. Generally, you should at least have some maintenance knowledge of your bike, like adjusting your derailleurs and changing your tires.
These simple skills will help you a lot to build your own bike. However, it’s always best to follow the owner’s manual to complete the job properly.
How To Build A Mountain Bike
Essential Parts Needed To Build A Mountain Bike
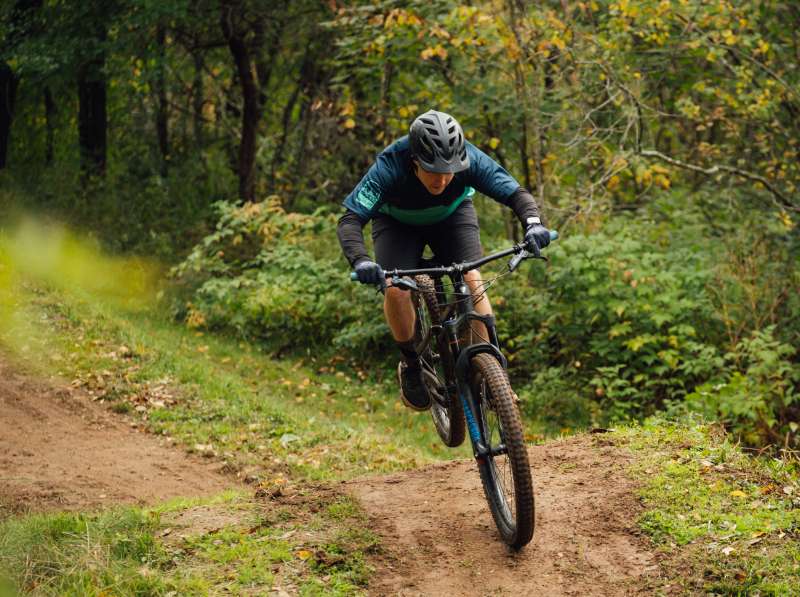
You will need these following parts to build your own mountain bike.
- Frame
- Front and rear wheel
- Tires
- Tubes
- Stem
- Handlebars
- Derailleur/Derailleurs
- Shifters
- Cassette
- Headset
- Fork
- Brakes
- Seat
- Seatpost
- Saddle
- Chain and Gears
- Pedals
Tools Needed To Assemble A Mountain Bike
For doing this job perfectly you will need several tools, such as:
- A set of metric Allen keys
- Wire cutters
- Phillips head screwdriver
- Wrench
- Lubricant
- A rag
8 Steps On How To Assemble A Mountain Bike
Here are the steps to assemble a mountain bike accurately. Hopefully, you can assemble your bike properly by following these steps.
Step 1: Unpack The Box And Lubricate The Parts
Before you begin, open the box and carefully pull everything out of it. Check the tools carefully and make sure you have everything you need. Do not throw anything away until you are done. Check the owner’s manual to ensure that which parts should be lubricated.
Check your bike to place any metal parts that will come into direct contact with other metal parts. Apply lubrication here to prevent any damage from friction and corrosion. Such areas will probably include parts like the quill stem, seat post, seat tube, and threads.
Step 2: Attach Seat And Seat post To The Frame
To set up the seat to the seat post, loosen the clamp on the seat post. Put in the seat post into the seat tube. Apply a small amount of bike grease or lubricant to the seat post before inserting it. Push the seat in until the minimum insertion mark is inside the tube. Finish the step by either clamping down the quick release lever or using a hex wrench to tighten. Once you’ve done, secure the seat post in the right place so it isn’t jarred out of place as you ride. Once the seat post is secure, move on to the saddle. If necessary, adjust its position so it’s centred over the post. Now tighten the bolts to fix it.
Step 3: Set Up The Handlebar To The Stem
Now it’s time to set your handlebar to the stem. Inspect the cables to make sure that they are in the correct position. Now remove the stem bolts and faceplate. Attach the handlebar in the stem and loosely re-secure the faceplate to the stem.
Make sure that your cable routing is suitable and there’re no harsh bends or twists in the cable. Once the handlebar is loosely attached in the stem, ensure that it’s positioned correctly and symmetrically before tightening the faceplate bolts. When tightening the faceplates bolts, tighten them alternately and equally. Make sure that the faceplate is equally tight on every side.
Step 4: Install The Wheels
First, go over each side of the wheel to make sure each tire are attached correctly on its rim. Look along the rims to confirm that the tires are evenly placed over the rims. Adjust them if necessary. For installing both the front and rear wheels, line up the axle with the dropouts.
At this point, tighten all bolts. As you do, tighten each bolt just a little bit at a time, move on to the others and tighten them just as much and repeat it until you’re done. After that, make sure that the wheels are still centred between the forks.
Step 5: Attach The Pedals Accurately
At first, identify which is which by checking the spindles. Find out the L and R markers gradually. Use the R pedal on the right side of the bike and L pedal on its left. To attach them properly, screw each pedal to its corresponding thread with your hands at first.
Turn clockwise for the right pedal and counter-clockwise for the left. Then tighten them firmly with a wrench into place as you near the end.
Step 6: Set Up And Adjust The Brakes
At first, slide the brake levers to the handlebars. Simply screw each arm into one of the post mounts to set cantilever brakes. Locate the brake pads so that they align with the braking surface on the wheels.
Normally disc brakes come pre-assembled which makes the installations somewhat easier. To set disc brakes, loosely screw in the disc brakes onto the frame. Squeeze the brake levers to make sure that they’re properly engaging. Adjust your brakes if necessary.
Step 7: Attach The Chain
Using a power link is an easier way to attach the chain of your bike. With a power link, you can attach the chain without tools. At first, route the chain through the derailleurs and bring them together under the chainstay. Then join one half of the power link to one side of the chain and the other half of the power link to the other side.
Now bring the two ends of the chain together and connect them with the power link. Turn the cranks backward so that the power link is now above the chainstay. Give the crank a quick yank forward to lock the power link in the right place.
Step 8: Adjust Derailleurs
To adjust the derailleurs, you need to adjust the upper-limit screw, lower-limit screw, and the barrel adjuster. At first, shift your derailleur into its lowest setting. Use the lower-limit screw to adjust the position of your derailleur so that it lines up with the lowest gear.
Repeat the same method with the upper limit screw and the highest gear. Ensure that your derailleur can shift into the highest and lowest gears. Now screw the barrel adjuster in and out until you reach your preferable point. Rotate the pedals and shift through all the gears to ensure that your bike shifts smoothly through the full range of gears.
Final Words
Finally, go over each bolt you installed and check them carefully to make sure that everything is tight. Make it sure that you haven’t overlooked anything or made any mistakes. However, if you want a readymade bike at a reasonable price, you can choose an MTB that cost $300.